Gloo Edge setup on Kubernetes

Gloo Edge
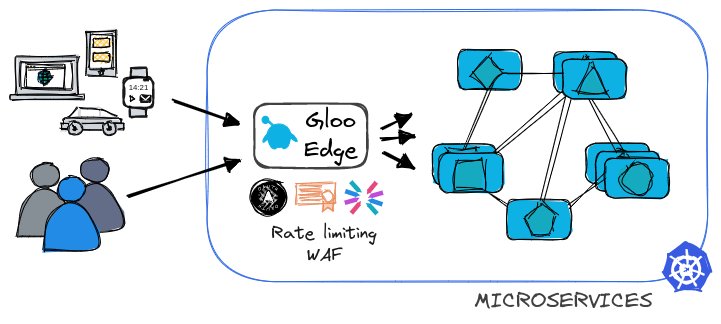
Gloo Edge is a modern Kubernetes-native API Gateway that provides all of the functionality from within Kubernetes. Gloo Edge help us to solve how we manage API and Web traffic at scale across our Enterprise.
Setup Gloo Edge Open-Source in Minikube
Gloo Edge Open-Source runs in 3 different modes
- Run Gloo Edge in
gatewaymode to function as an API Gateway. - Run Gloo Edge in
ingressmode to act as a standard Kubernetes Ingress controller. - Gloo Edge Enterprise
There are two primary ways to install the Gloo Edge in production
- Install Gloo Edge on Kubernetes
- Run Gloo Edge on a HashiCorp Nomad Cluster, using Consul for configuration and Vault for secret storage.
Kubernetes Cluster Setup & Gloo Edge Install
We are going to install Gloo Edge in Kubernetes
In this Demo, Let us install Gloo Edge in Minikube Kubernetes Cluster environmentSteps:
- Install Colima
- Install Minikube
- Install Gloo Edge
- Install Gloo Gateway
- Deploy sample Application
- Verify the Upstream for the sample Application
- Configure Routing
- Verify Virtual Service
- Test the Application
To Install Colima & Minikube on Mac OS
Ref: https://blog.kubelancer.com/install-minikube-on-mac-os/
Install Gloo Edge
Run below command to install gloo control binary
$ curl -sL https://run.solo.io/gloo/install | sh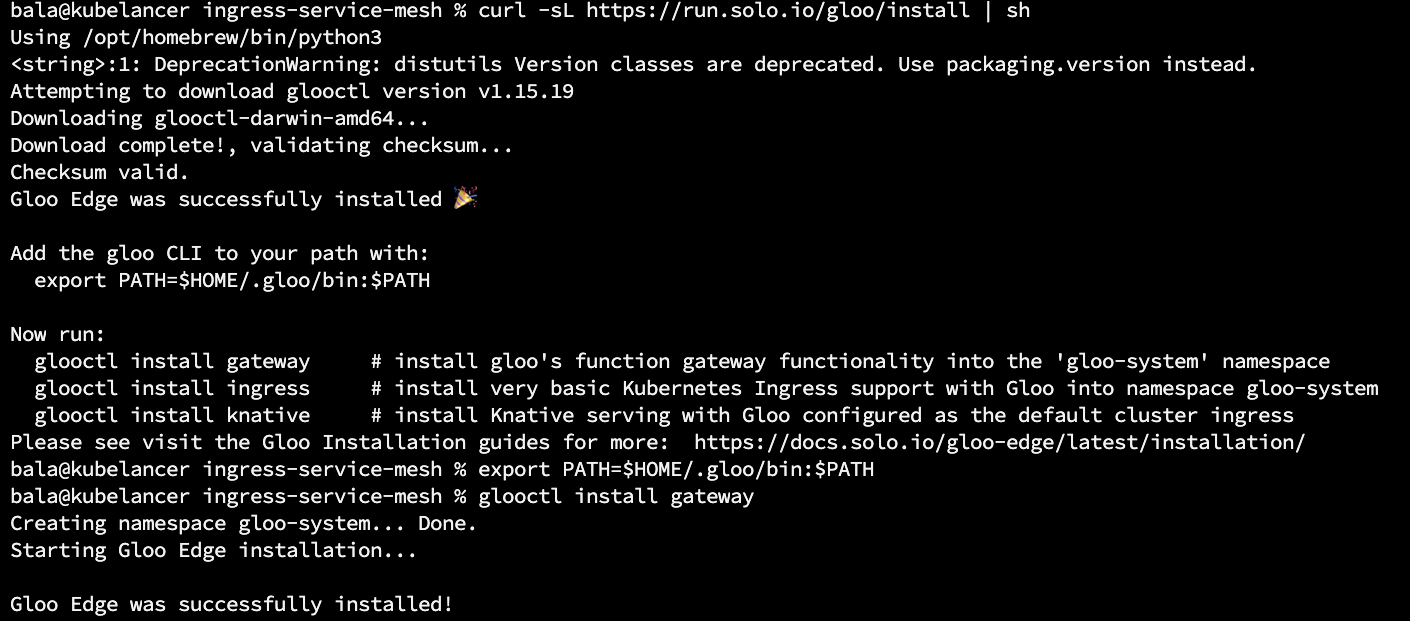
Export binary PATH as OS env
$ export PATH=$HOME/.gloo/bin:$PATH
Install Gloo Gateway
$ glooctl install gateway
Verify Gloo Gateway installation Status
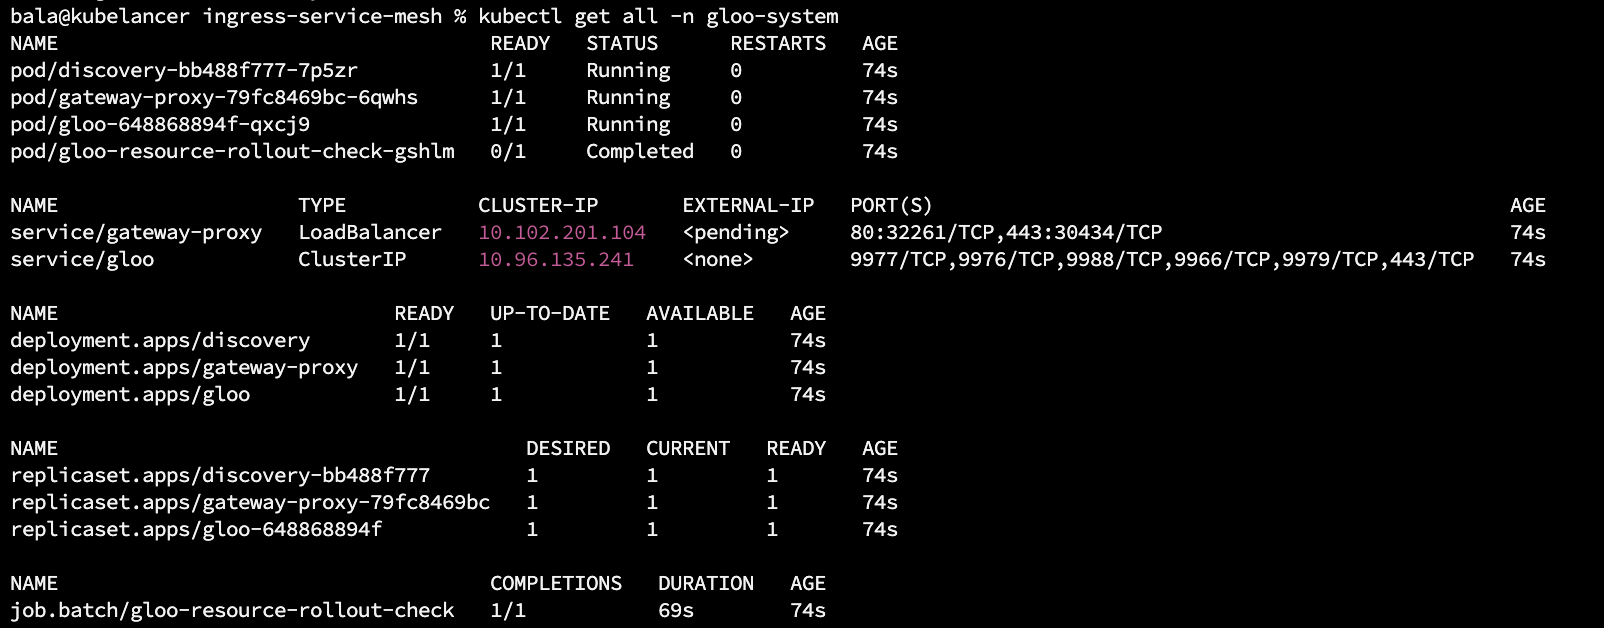
Look at LoadBalancer is Pending..To assign LoadBalancer IP Address, Creates a network tunnel to expose services of type LoadBalancer to your local loopback IP address 127.0.0.1 / localhost.Run in separate Terminal window
$ minikube tunnel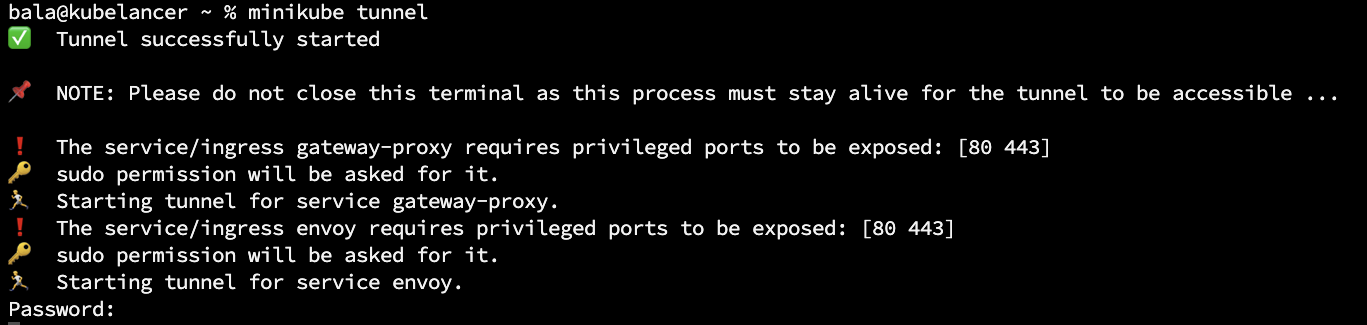
Verify LoadBalancer
$ kubectl get svc -n gloo-system
Let us Deploy a sample Application on dev namespace
$ git clone https://github.com/kubelancer/kubelancer-lab-sample-deployment.git$ cd kubelancer-lab-sample-deployment
$ kubectl apply -f deployment.yaml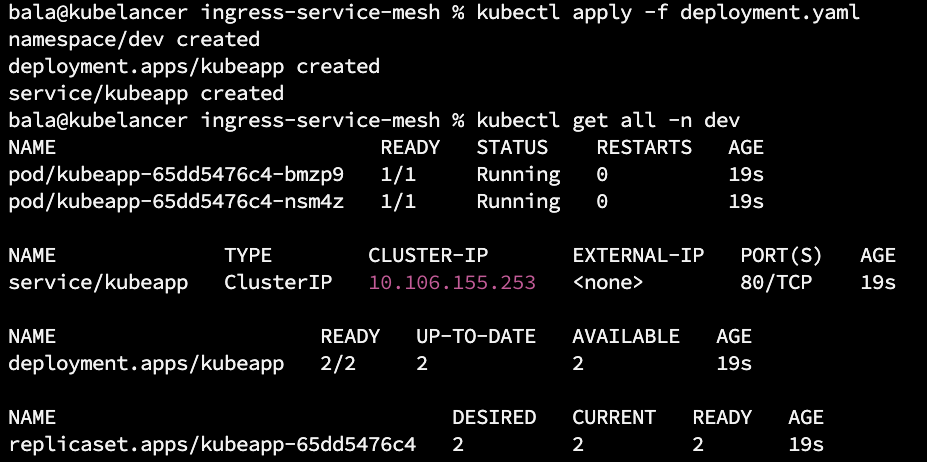
Verify the Upstream for the sample Application
$ glooctl get upstreams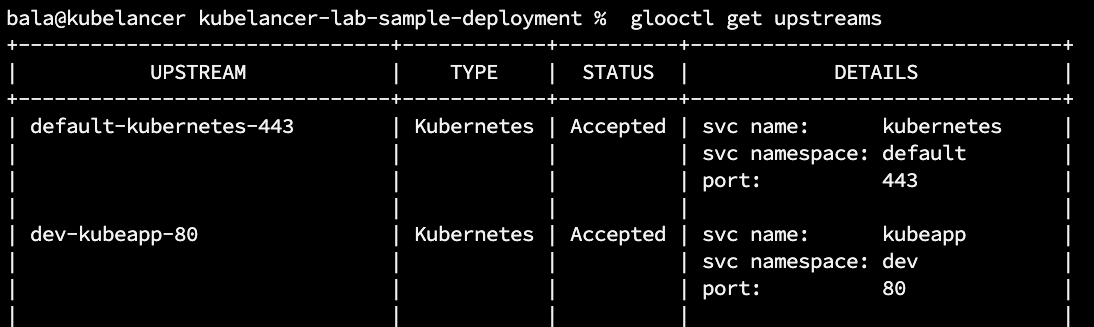
Configure Route
Now we Configure Route to create traffic rules to expose the Application public Access
$ glooctl add route --path-prefix=/ --dest-name dev-kubeapp-80 --dest-name dev-kubeapp is the upstream

Verify Virtual Service
$ glooctl get virtualservice
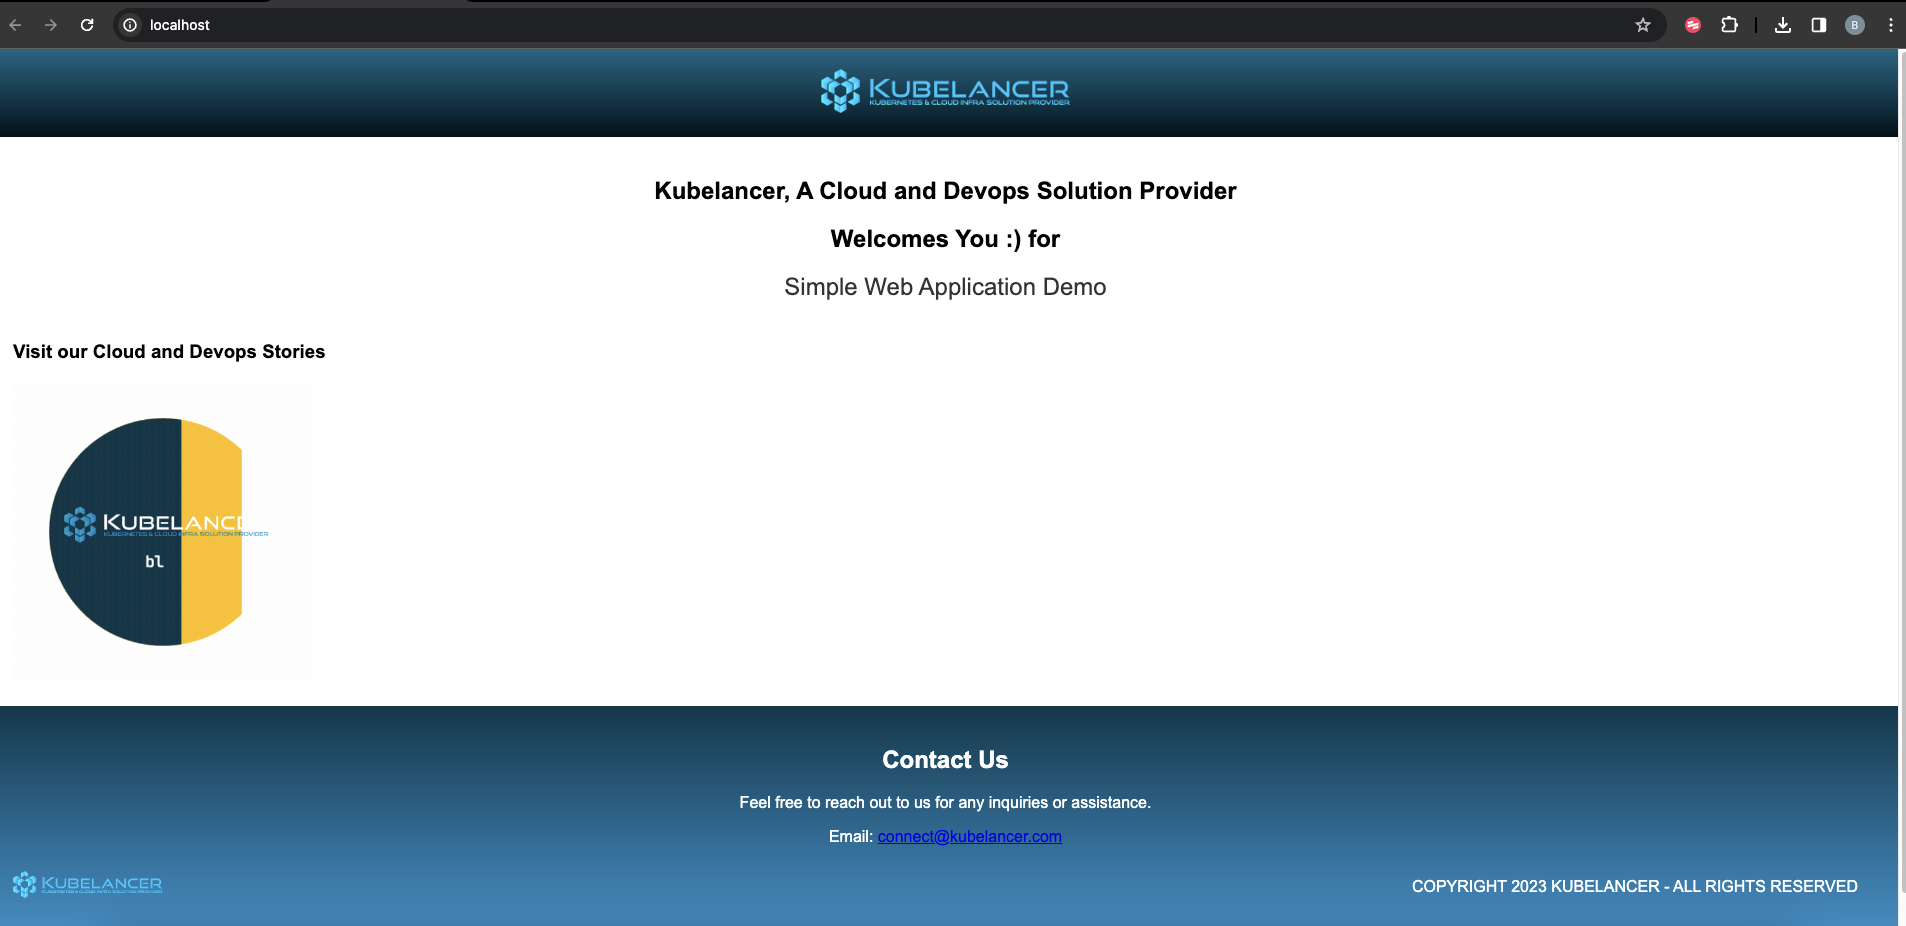
Test the Application
Run http://localhost
Output
To Uninstall sample application, Gloo Edge, Minikube and Colima
$ kubectl delete -f deployment.yaml

$ glooctl uninstall --all

$ minikube stop

$ colima stop