Setting up TLS with Nginx Ingress
This guide provides a step-by-step tutorial on setting up TLS with Nginx Ingress on AWS EKS clusters

Expose an Kubernetes service with TLS using NGINX Ingress on AWS EKS
Step 1: Create an AWS EKS Cluster
AWS EKS Kubernetes Cluster using eksctl Command
Step 1.1: Install AWS CLI (Mac OS)
Step 1.1.1: Download AWS CLI binary
curl "https://awscli.amazonaws.com/AWSCLIV2.pkg" -o "AWSCLIV2.pkg"
Step 1.1.2: Install
sudo installer -pkg ./AWSCLIV2.pkg -target /
Step 1.1.3:Verify the installation
which aws

aws --version
Step 1.2: Configure AWS CLI
Step1.2.1: Login to AWS console as root user
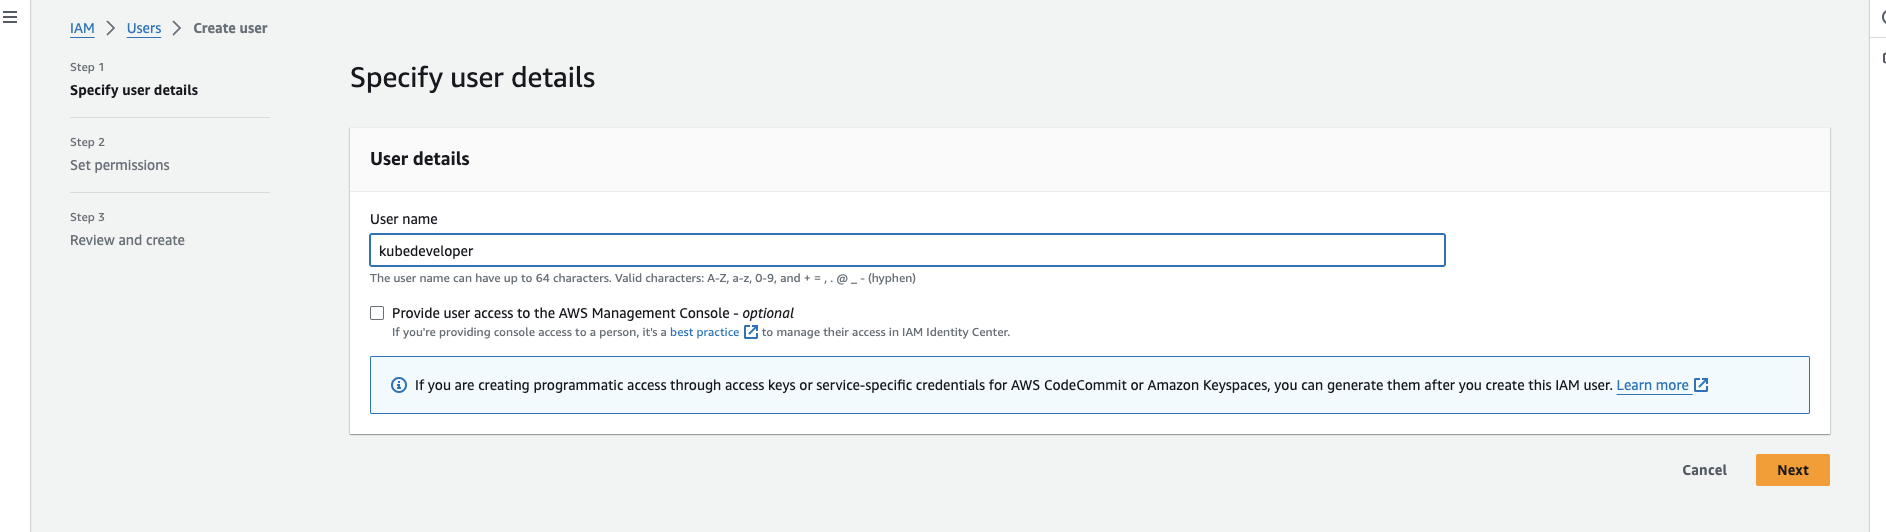
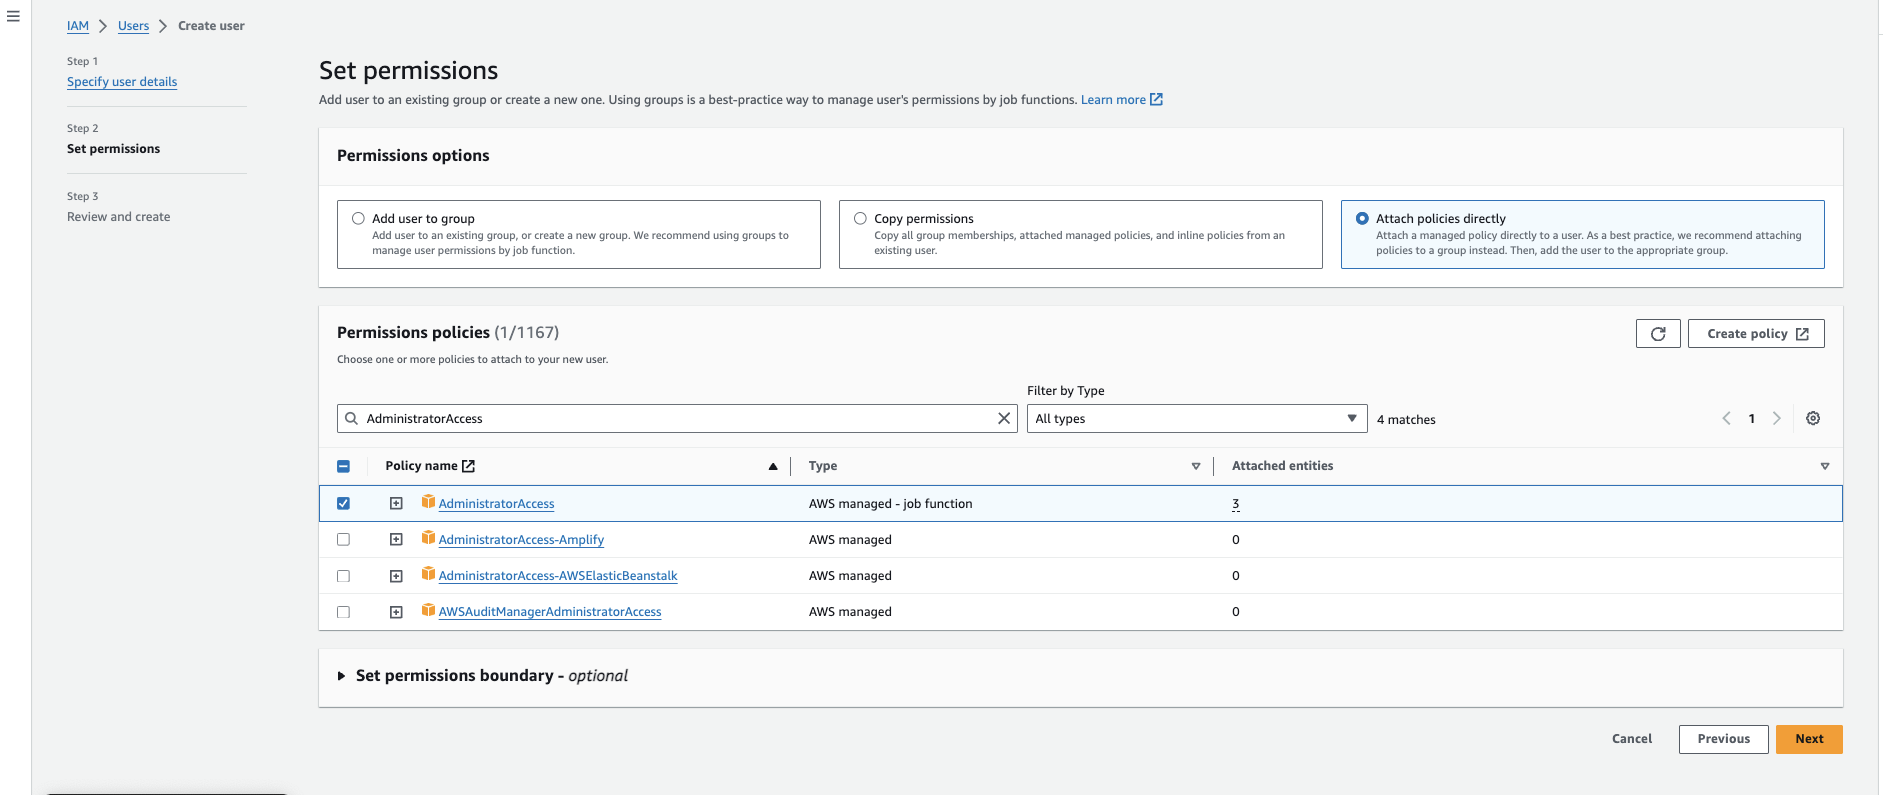
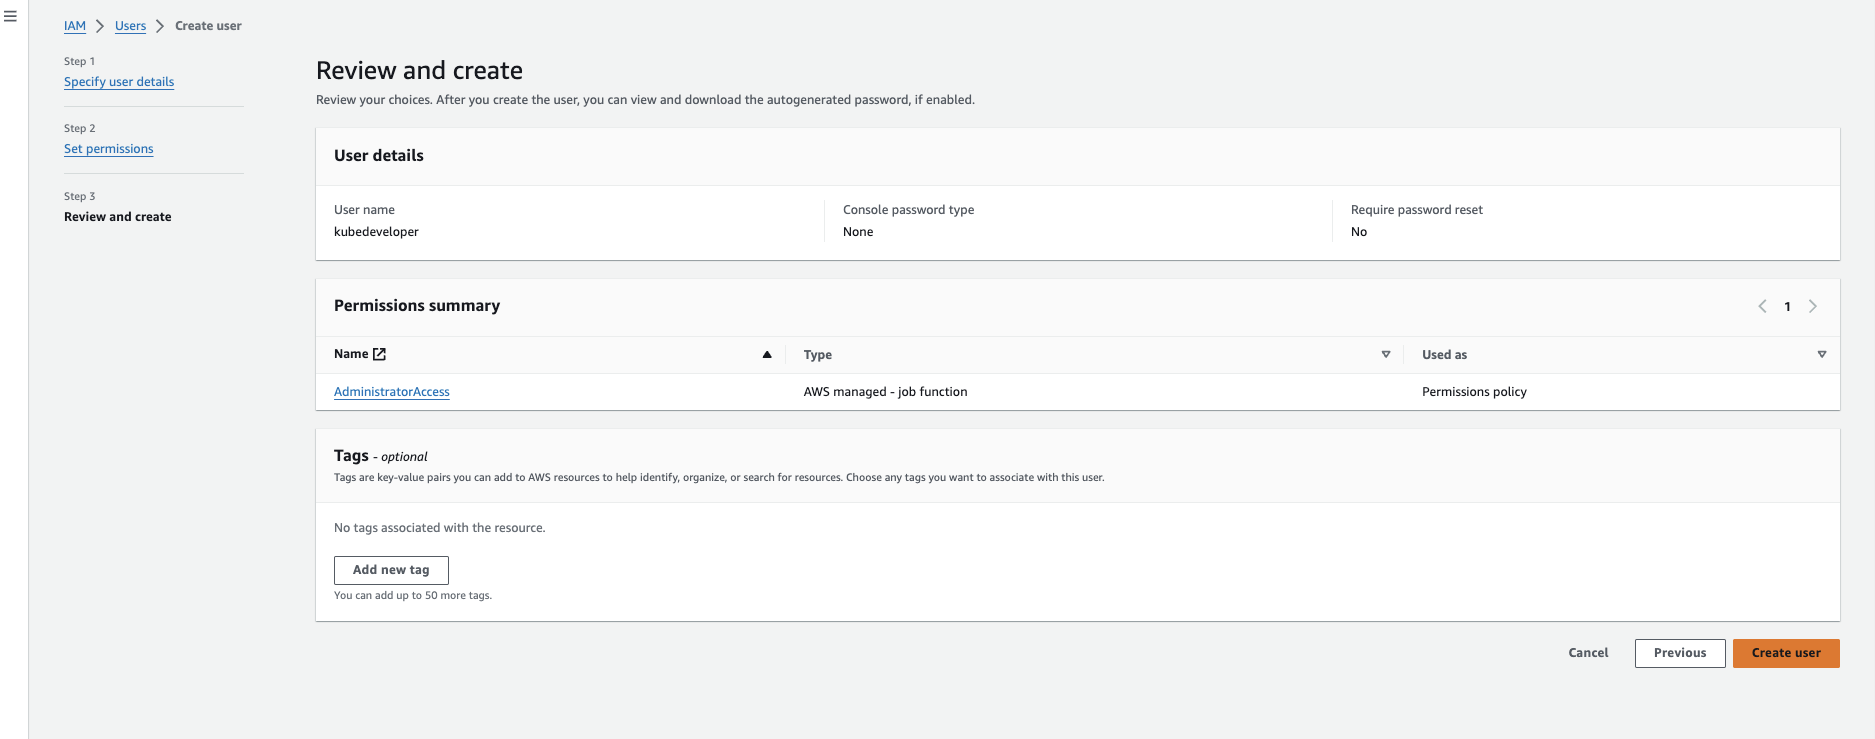
Create IAM user
- username: kubedeveloper
- No AWS console access, Only programmatic access
Step:1.2.2: Create Access and SecretAccessKey
Select the IAM user "kubedeveloper"
Navigate to Security Credentials
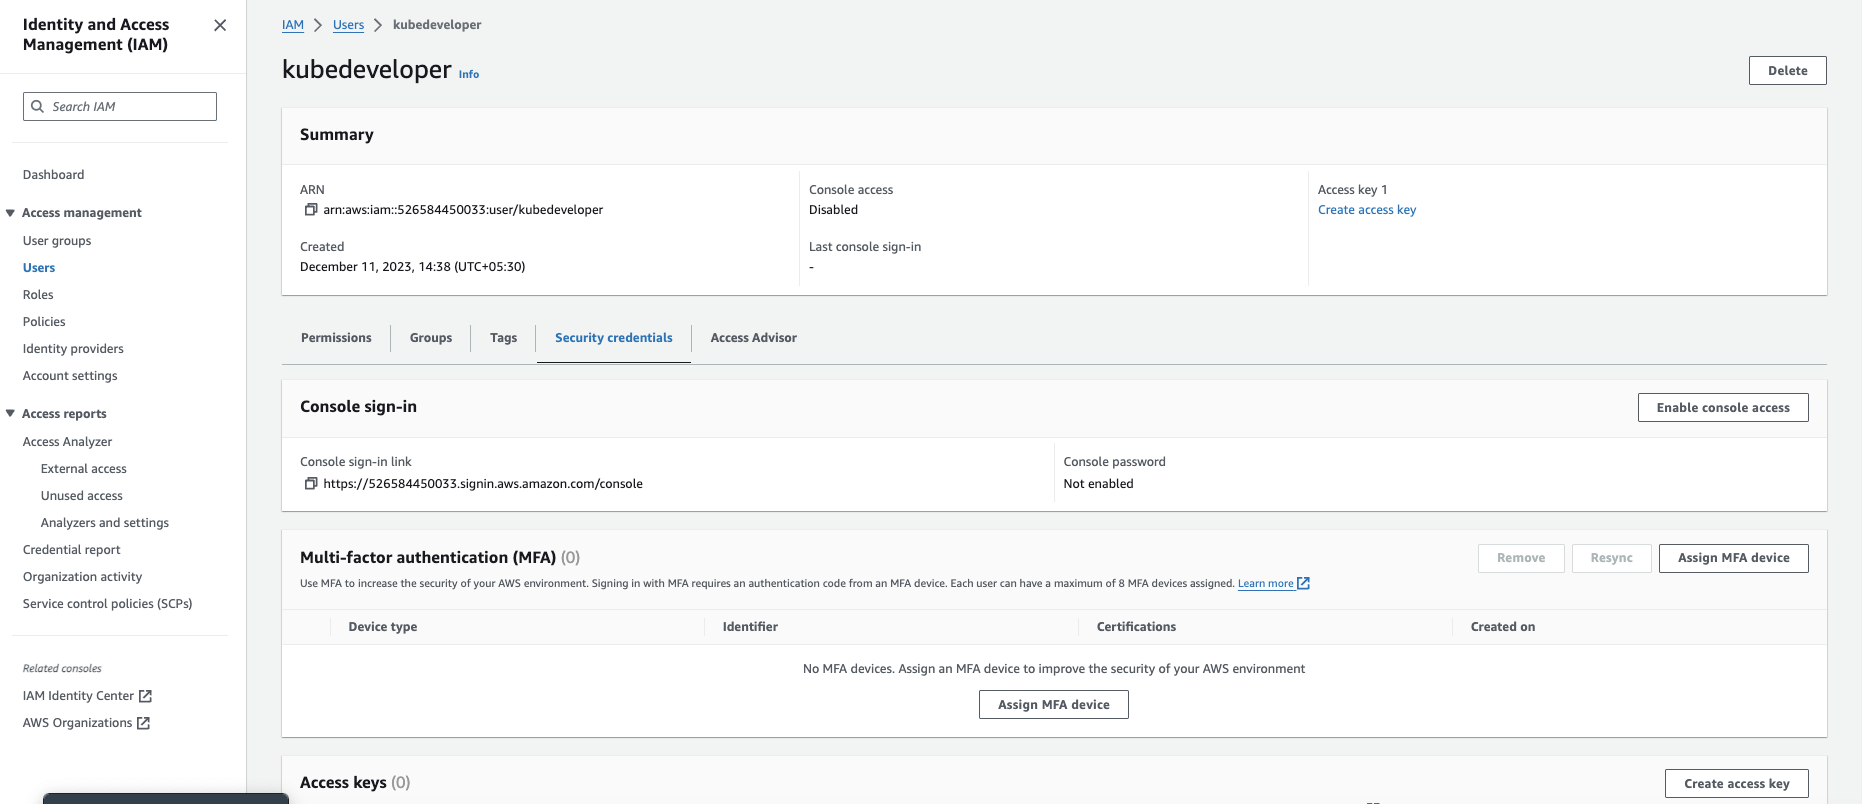
Click Create access key

Select Use case : Command Line Interface (CLI) & check the Confirmation
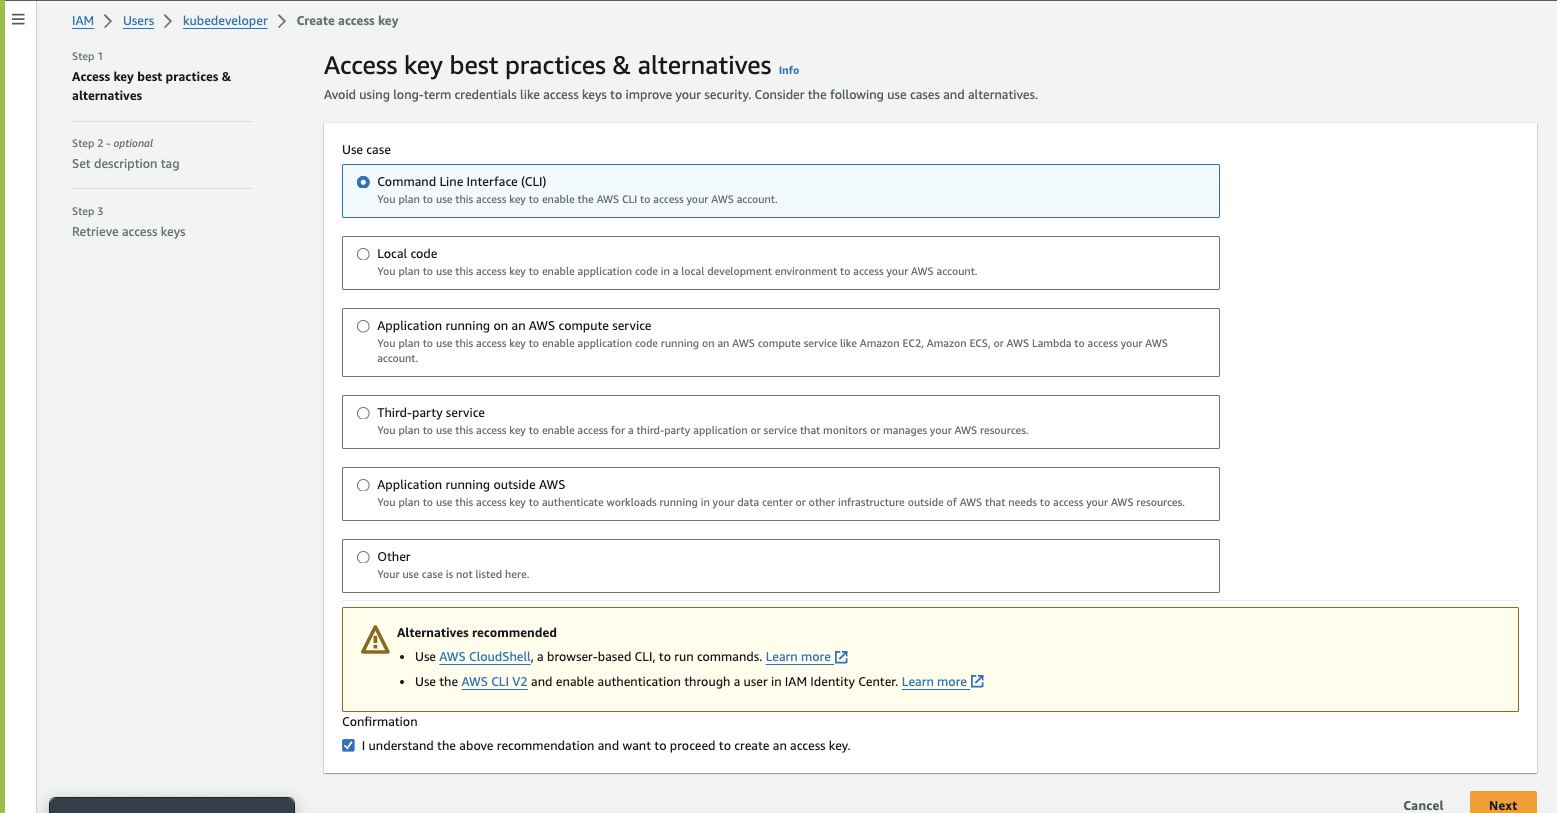
Set description tag - optional and Click create
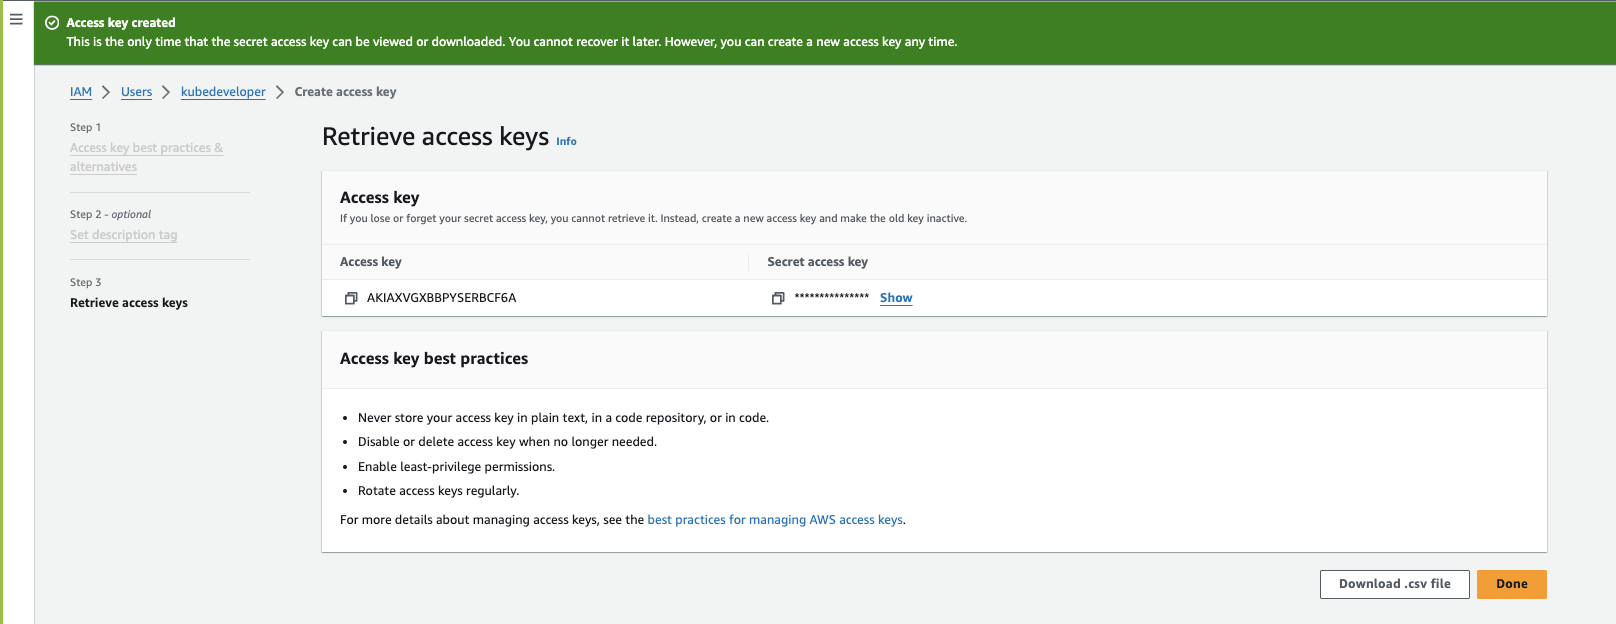
Step 1.2.3: Configure AWS CLI on Mac OS command-line
aws configure
Step 1.3: Install eksctl on Mac OS
Step 1.3.1: To download the latest release, run on Mac OS (arm64 architecture):
curl -sLO "https://github.com/eksctl-io/eksctl/releases/latest/download/eksctl_Darwin_arm64.tar.gz"

tar -xzvf eksctl_Darwin_arm64.tar.gz

sudo mv ./eksctl /usr/local/bin
Ref: https://www.weave.works/oss/eksctl/
Step 1.3.2: Creating an AWS EKS Kubernetes Cluster using eksctl
Create Cluster configuration yaml file
vi cluster-config.yamlapiVersion: eksctl.io/v1alpha5
kind: ClusterConfig
metadata:
name: kubelancer-cluster-2
region: us-east-1
nodeGroups:
- name: ng-1
instanceType: t4g.small
desiredCapacity: 2
volumeSize: 10
ssh:
allow: falseLet's create eks cluster on AWS using eksctl command
eksctl create cluster -f cluster-config.yaml
Step 1.3.3: Use the following command to get kube-config
aws eks update-kubeconfig --name=kubelancer-cluster-2 --region=us-east-1kubectl get node
Step 2: Deploy the NGINX Ingress Controller
kubectl create namespace ingress-nginxkubectl apply -f https://raw.githubusercontent.com/kubernetes/ingress-nginx/controller-v1.8.2/deploy/static/provider/cloud/deploy.yaml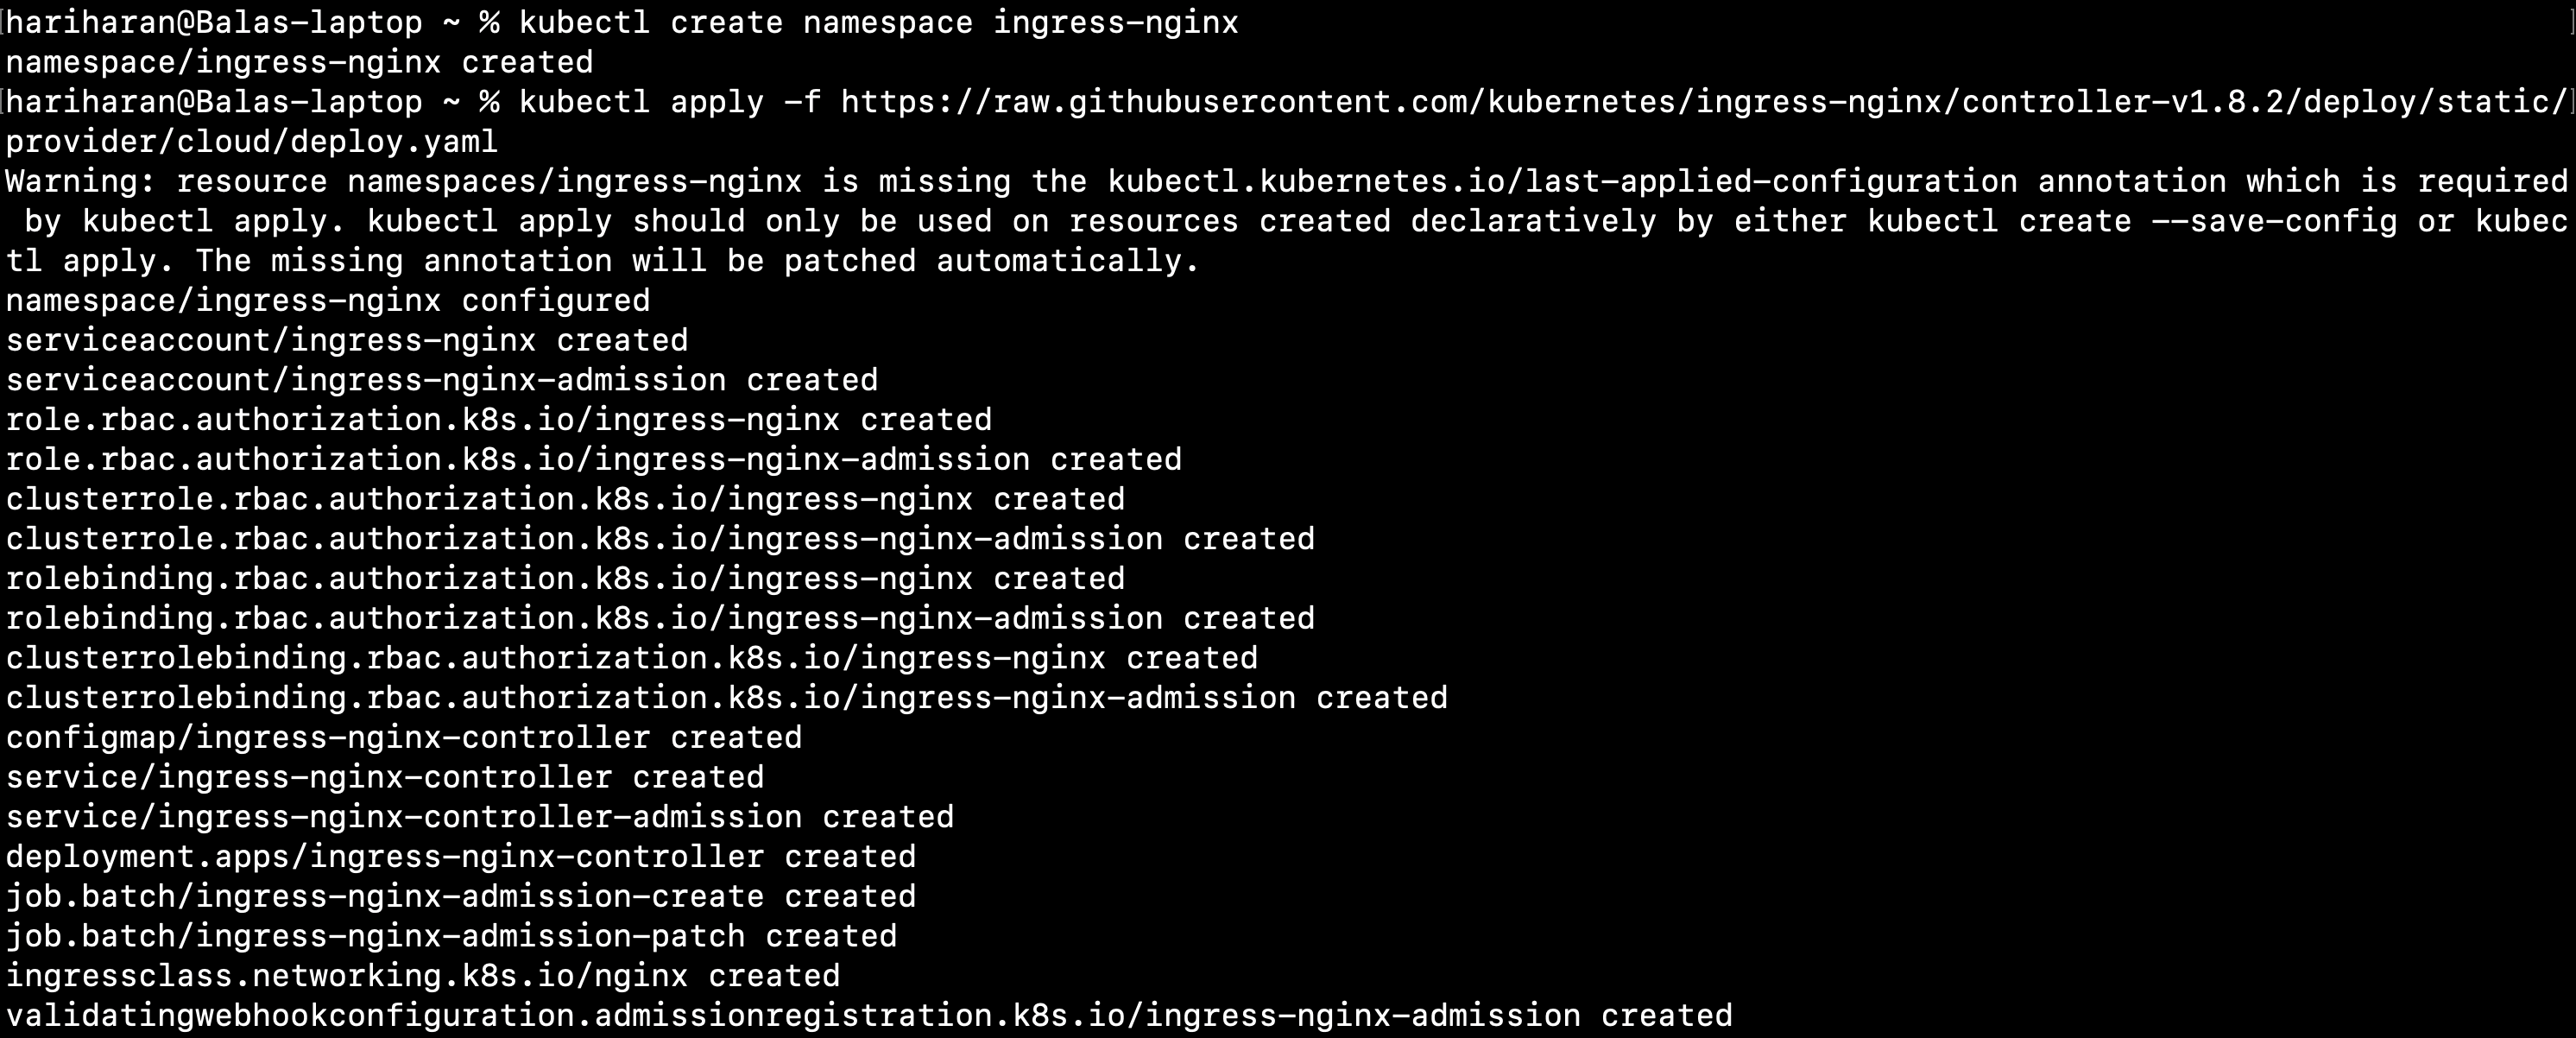
Pre-flight check
kubectl get pods -n ingress-nginxOutput

List Service
kubectl get svc --namespace=ingress-nginxOutput

Step 3: Deploy a sample application
kubectl create ns devvi kubewebserver.yamlapiVersion: apps/v1
kind: Deployment
metadata:
name: kubewebserver
namespace: dev
labels:
app: kubewebserver
spec:
replicas: 1
selector:
matchLabels:
app: kubewebserver
template:
metadata:
labels:
app: kubewebserver
spec:
containers:
- name: kubewebserver
image: kubelancer/hello-kubelancer:v1
ports:
- containerPort: 80
---
apiVersion: v1
kind: Service
metadata:
name: kubewebserver-service
namespace: dev
labels:
app: kubewebserver-service
spec:
type: ClusterIP
ports:
- port: 80
targetPort: 80
protocol: TCP
selector:
app: kubewebserverkubectl apply -f kubewebserver.yamlOutput
kubectl get deploy,svc -n dev
Step 4: Create ingress without TLS
vi ingress-with-host.yamlapiVersion: networking.k8s.io/v1
kind: Ingress
metadata:
name: ingress-with-host-02
namespace: dev
annotations:
nginx.ingress.kubernetes.io/rewrite-target: /
spec:
ingressClassName: nginx
rules:
- host: webtest.kubelancer.in
http:
paths:
- path: /
pathType: Prefix
backend:
service:
name: kubewebserver-service
port:
number: 80kubectl apply -f ingress-with-host.yamlOutput
kubectl get ingress -n dev
Output
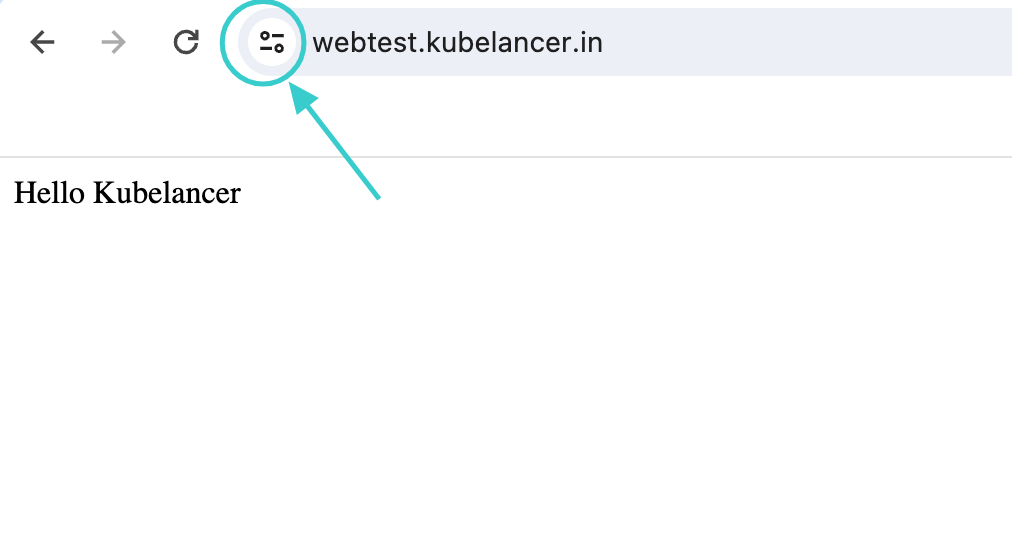
curl http://webtest.kubelancer.in
curl http://webtest.kubelancer.in
Hello Kubelancer
Let we perform below steps to access same website using https://
To config SSL, we going to use Cert-Manager and Let's Encrypt in this Lab
In simple:
Cert Manager
cert-manager creates TLS certificates for workloads in your Kubernetes, also helps to renew the certificate.
cert-manager obtain certificates from a Let's Encrypt.
Let's Encrypt
To enable HTTPS for website, we need to purchase SSL certificate from Certificate Authority, which is costable. For demo or development environment, we have a choice to use free Certificate Authority (CA), that guy is Let’s Encrypt.
Step 5: Deploy cert-manager
kubectl apply -f https://github.com/cert-manager/cert-manager/releases/download/v1.14.4/cert-manager.yaml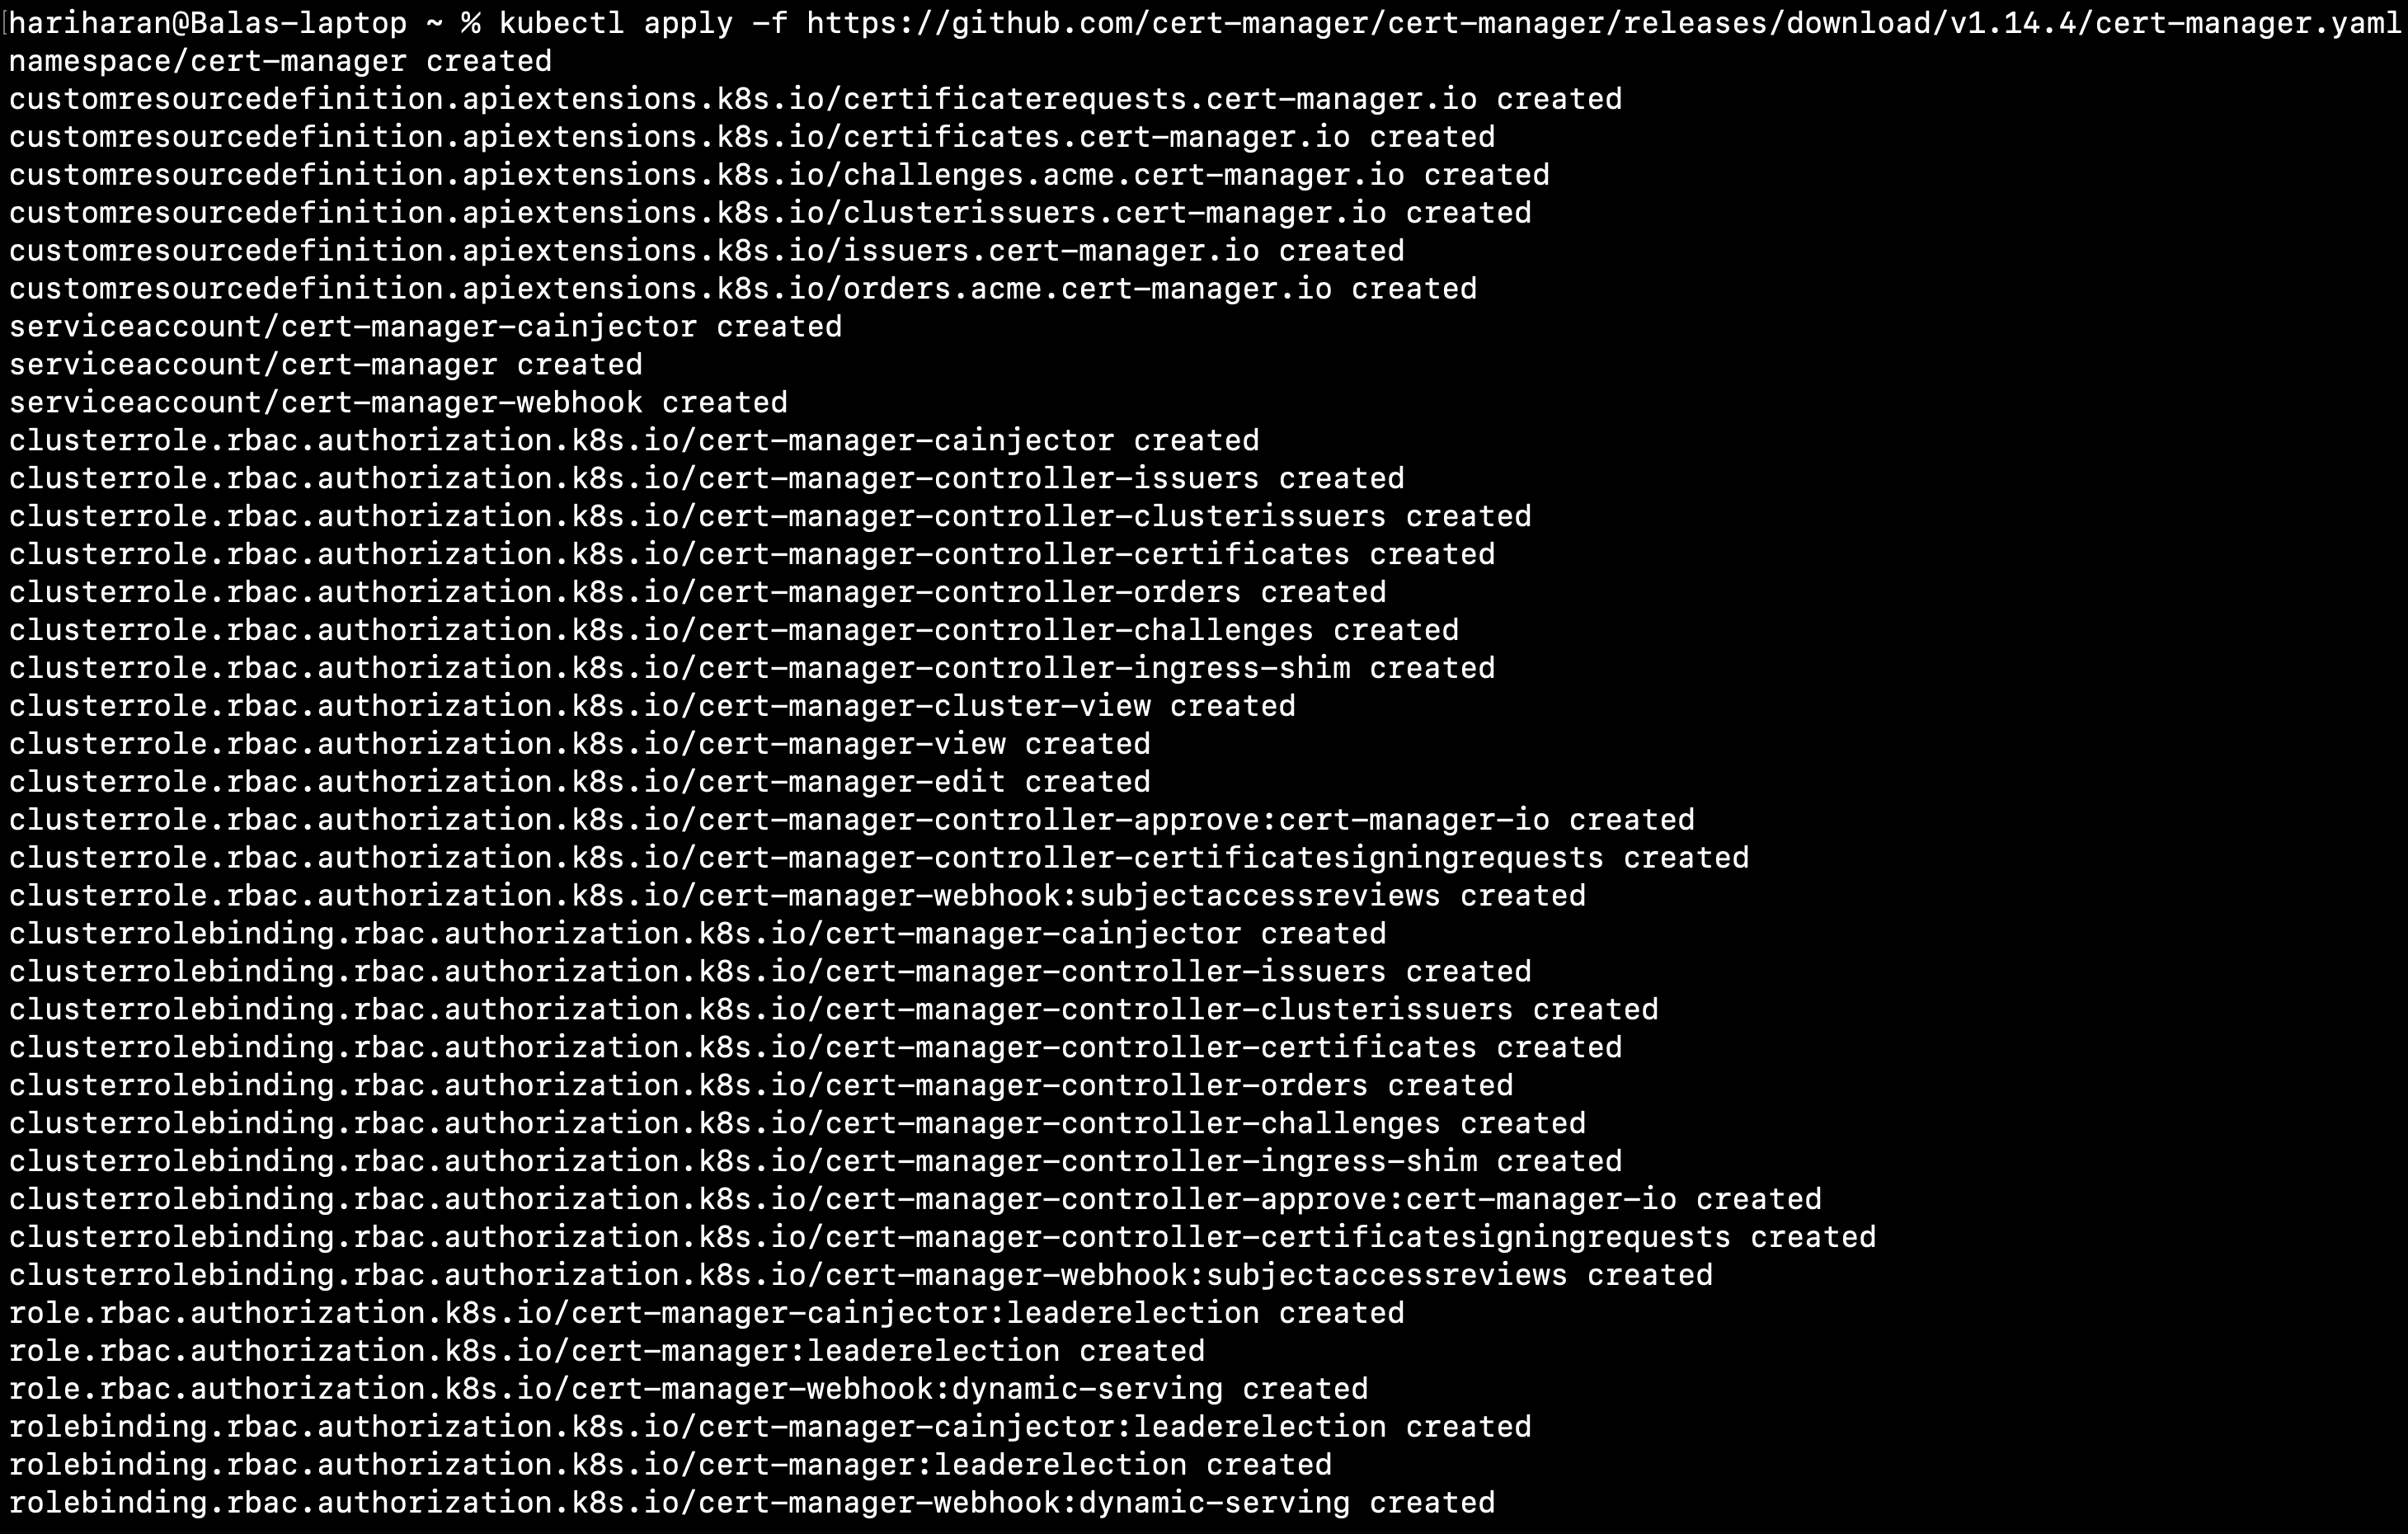
Output
kubectl get pods --namespace cert-manager
Step 6: Configure a Let's Encrypt Issuer
apiVersion: cert-manager.io/v1
kind: Issuer
metadata:
  name: letsencrypt-prod
  namespace: dev
spec:
  acme:
    server: https://acme-v02.api.letsencrypt.org/directory
    email: noreply@gmail.com
    privateKeySecretRef:
      name: letsencrypt-prod
    solvers:
      - http01:
          ingress:
            ingressClassName: nginx
kubectl create -f issuer.yamlkubectl get issuer -n dev
Step 7: Deploy a TLS Ingress Resource
vi ingress-with-host.yamlapiVersion: networking.k8s.io/v1
kind: Ingress
metadata:
name: ingress-with-host-02
namespace: dev
annotations:
nginx.ingress.kubernetes.io/rewrite-target: /
cert-manager.io/issuer: "letsencrypt-prod"
spec:
ingressClassName: nginx
tls:
- hosts:
- webtest.kubelancer.in
secretName: kubewebserver-tls
rules:
- host: webtest.kubelancer.in
http:
paths:
- path: /
pathType: Prefix
backend:
service:
name: kubewebserver-service
port:
number: 80kubectl apply -f ingress-with-host.yamlkubectl get secret -n dev 
Step 8: Output
Now the website has secure connection