Contour Ingress on Minikube Kubernetes Cluster
Setting up Contour on Local kubernetes minikube

Contour is an modern ingress controller for Kubernetes.Contour works by deploying the Envoy proxy as a reverse proxy and load balancer.
Good feature on Contour is , it supports multiple configuration APIs as meet our business need.
-
Ingress - A stable upstream API that enables basic ingress use cases.
-
HTTPProxy - Contour's Custom Resource Definition (CRD) which expands upon the functionality of the Ingress API to allow for a richer user experience as well as solve shortcomings in the original design.
-
Gateway API (beta) - A new CRD-based API managed by the Kubernetes SIG-Network community that aims to evolve Kubernetes service networking APIs in a vendor-neutral way.Let us see a simple demo, how Contour exposing Application service to Internet User access.
Pre-Requisite:
To setup local development environment
- Colima - container runtimes on macOS (and Linux)
- Minikube - minikube is local Kubernetes
Then, install
- Contour Ingress Controller, Sample Deployment workload, HTTPproxy
Install colima

Install on Mac
$ brew install colimaStart colima
$ colima start
Verify
$ colima status
Install Minikube on MacOS
To run Minikube, need a Hypervisor , here we are using Docker, which is providing by Colima runtime.
Run the below commands to download binary
$ curl -LO https://storage.googleapis.com/minikube/releases/latest/minikube-darwin-amd64Run below command to get Install
$ sudo install minikube-darwin-amd64 /usr/local/bin/minikubeStart Minikube
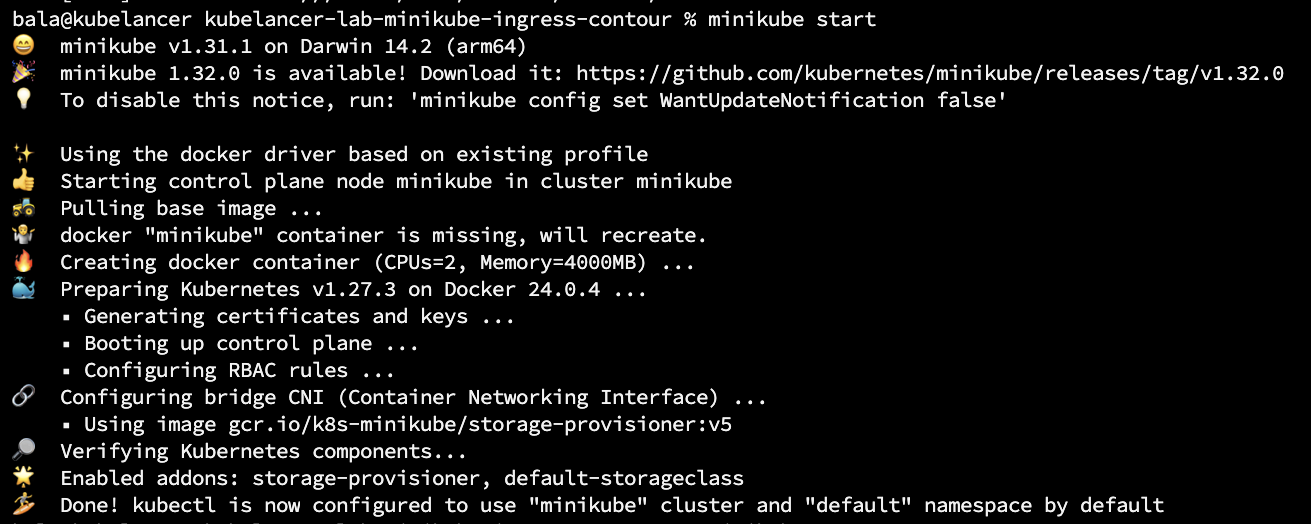
$ minikube start
Verify
$ minikube status
Let's start install Contour Ingress Controller on minikube cluster (local Kubernetes cluster)
Complete Code on https://github.com/kubelancer/kubelancer-lab-minikube-ingress-contour.git
Clone the Git Repo and get start.
$ git clone https://github.com/kubelancer/kubelancer-lab-minikube-ingress-contour.gitInstall Contour and Envoy
$ cd kubelancer-lab-minikube-ingress-contour
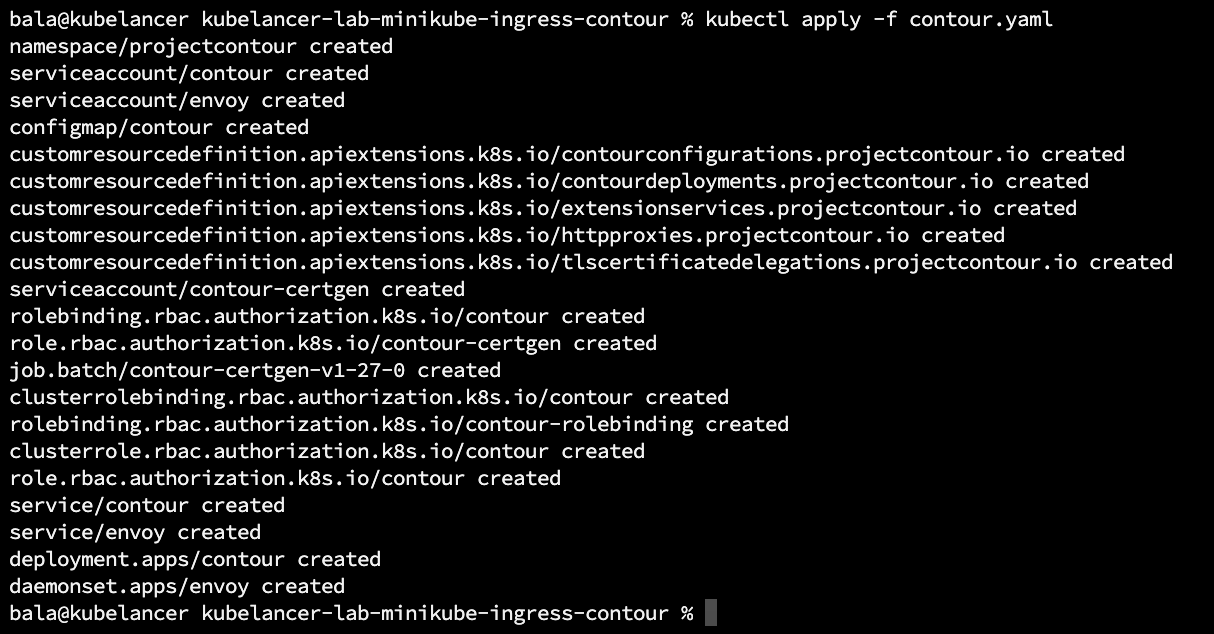
$ kubectl apply -f contour.yamlPlain text
Verify Deployment, DaemonSet, pods, services in projectcontour namespace
$ kubectl get deployments,pods,service,daemonset -n projectcontour

Run minikube tunnel command get Connect to LoadBalancer services of service/envoy LoadBalancer.
$ minikube tunnel
Now verify, LoadBalancer IP address should get allotted by minikube
$ kubectl get svc -n projectcontour
Let now Deploy sample Application, Which creates
- namespace: dev
- deployment: kubeapp using container image docker.io/kubelancer/kubewebapp:v1.0.0
- service: kubeapp
$ kubectl apply -f deployment.yaml 
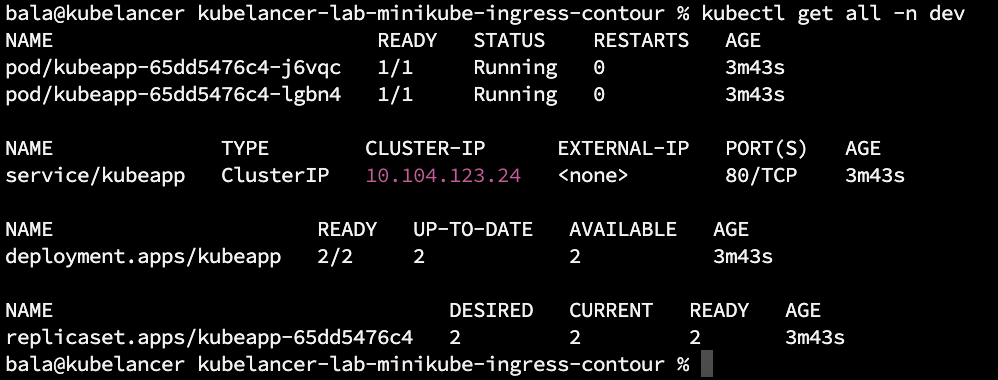
Verify Application and Service
$ kubectl get all -n dev
Let us expose this application to internet world, localhost is using as DNS name as this is local environment.
Creating an HTTPProxy
Note: Also we can use ingress, in this demo we are using HTTPProxy which provide rich user experience on multi-tenant environments.
Before apply, let view the yaml configuration spec
bala@kubelancer demo-2 % cat contour-httpproxy.yaml
apiVersion: projectcontour.io/v1   # API version
kind: HTTPProxy                    # Type of resource, here HTTPProxy
metadata:
  name: kubeapp-proxy              # proxy name
  namespace: dev                   # deploying proxy on dev namesapce
spec:
  virtualhost:                     # Expose to Host, in this case localhost, use DNS for your  business
    fqdn:
       "localhost"
  routes:
    - conditions:                  # URL routing PATH, here root path
      - prefix: /
      services:
        - name: kubeapp            # mapped kubeapp service
          port: 80                 # kubeapp service port number
bala@kubelancer demo-2 %
Apply HTTPProxy
$ kubectl apply -f contour-httpproxy.yamlList and Verify HTTPProxies
$ kubectl get httpproxy -n dev
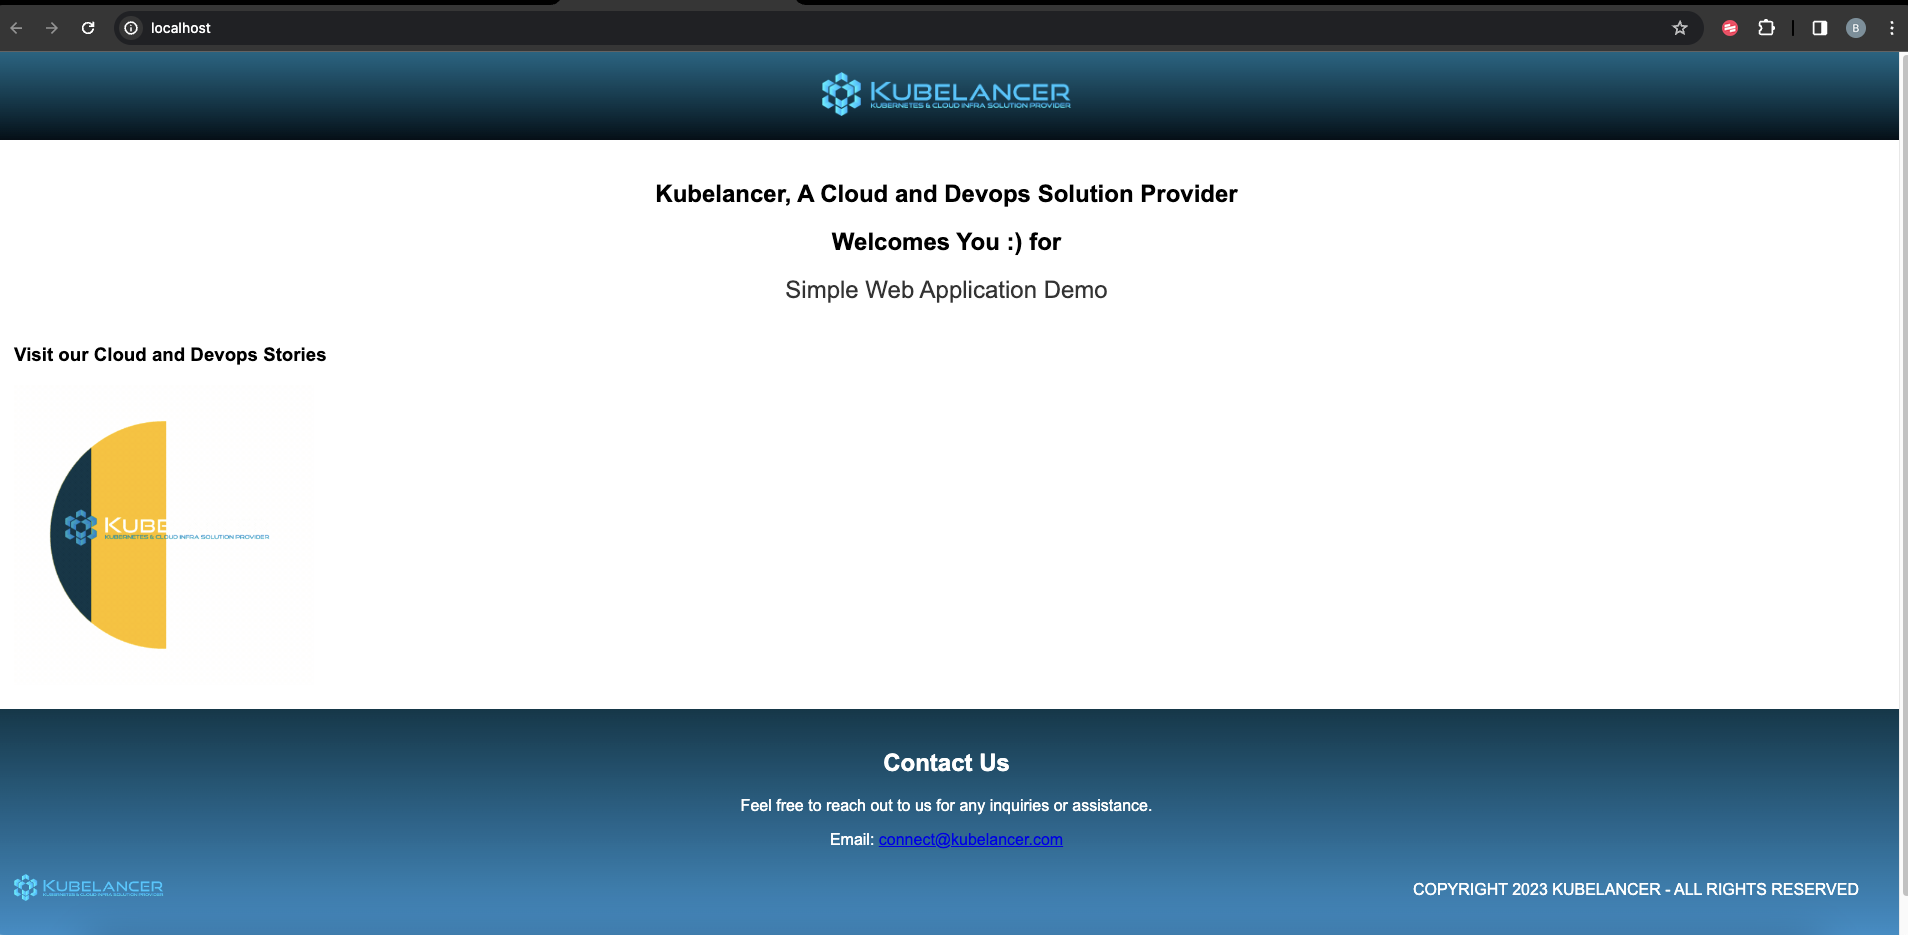
End Result:
To view kubeapp Application:
Open browser and type http://localhost/


